Window Replacement
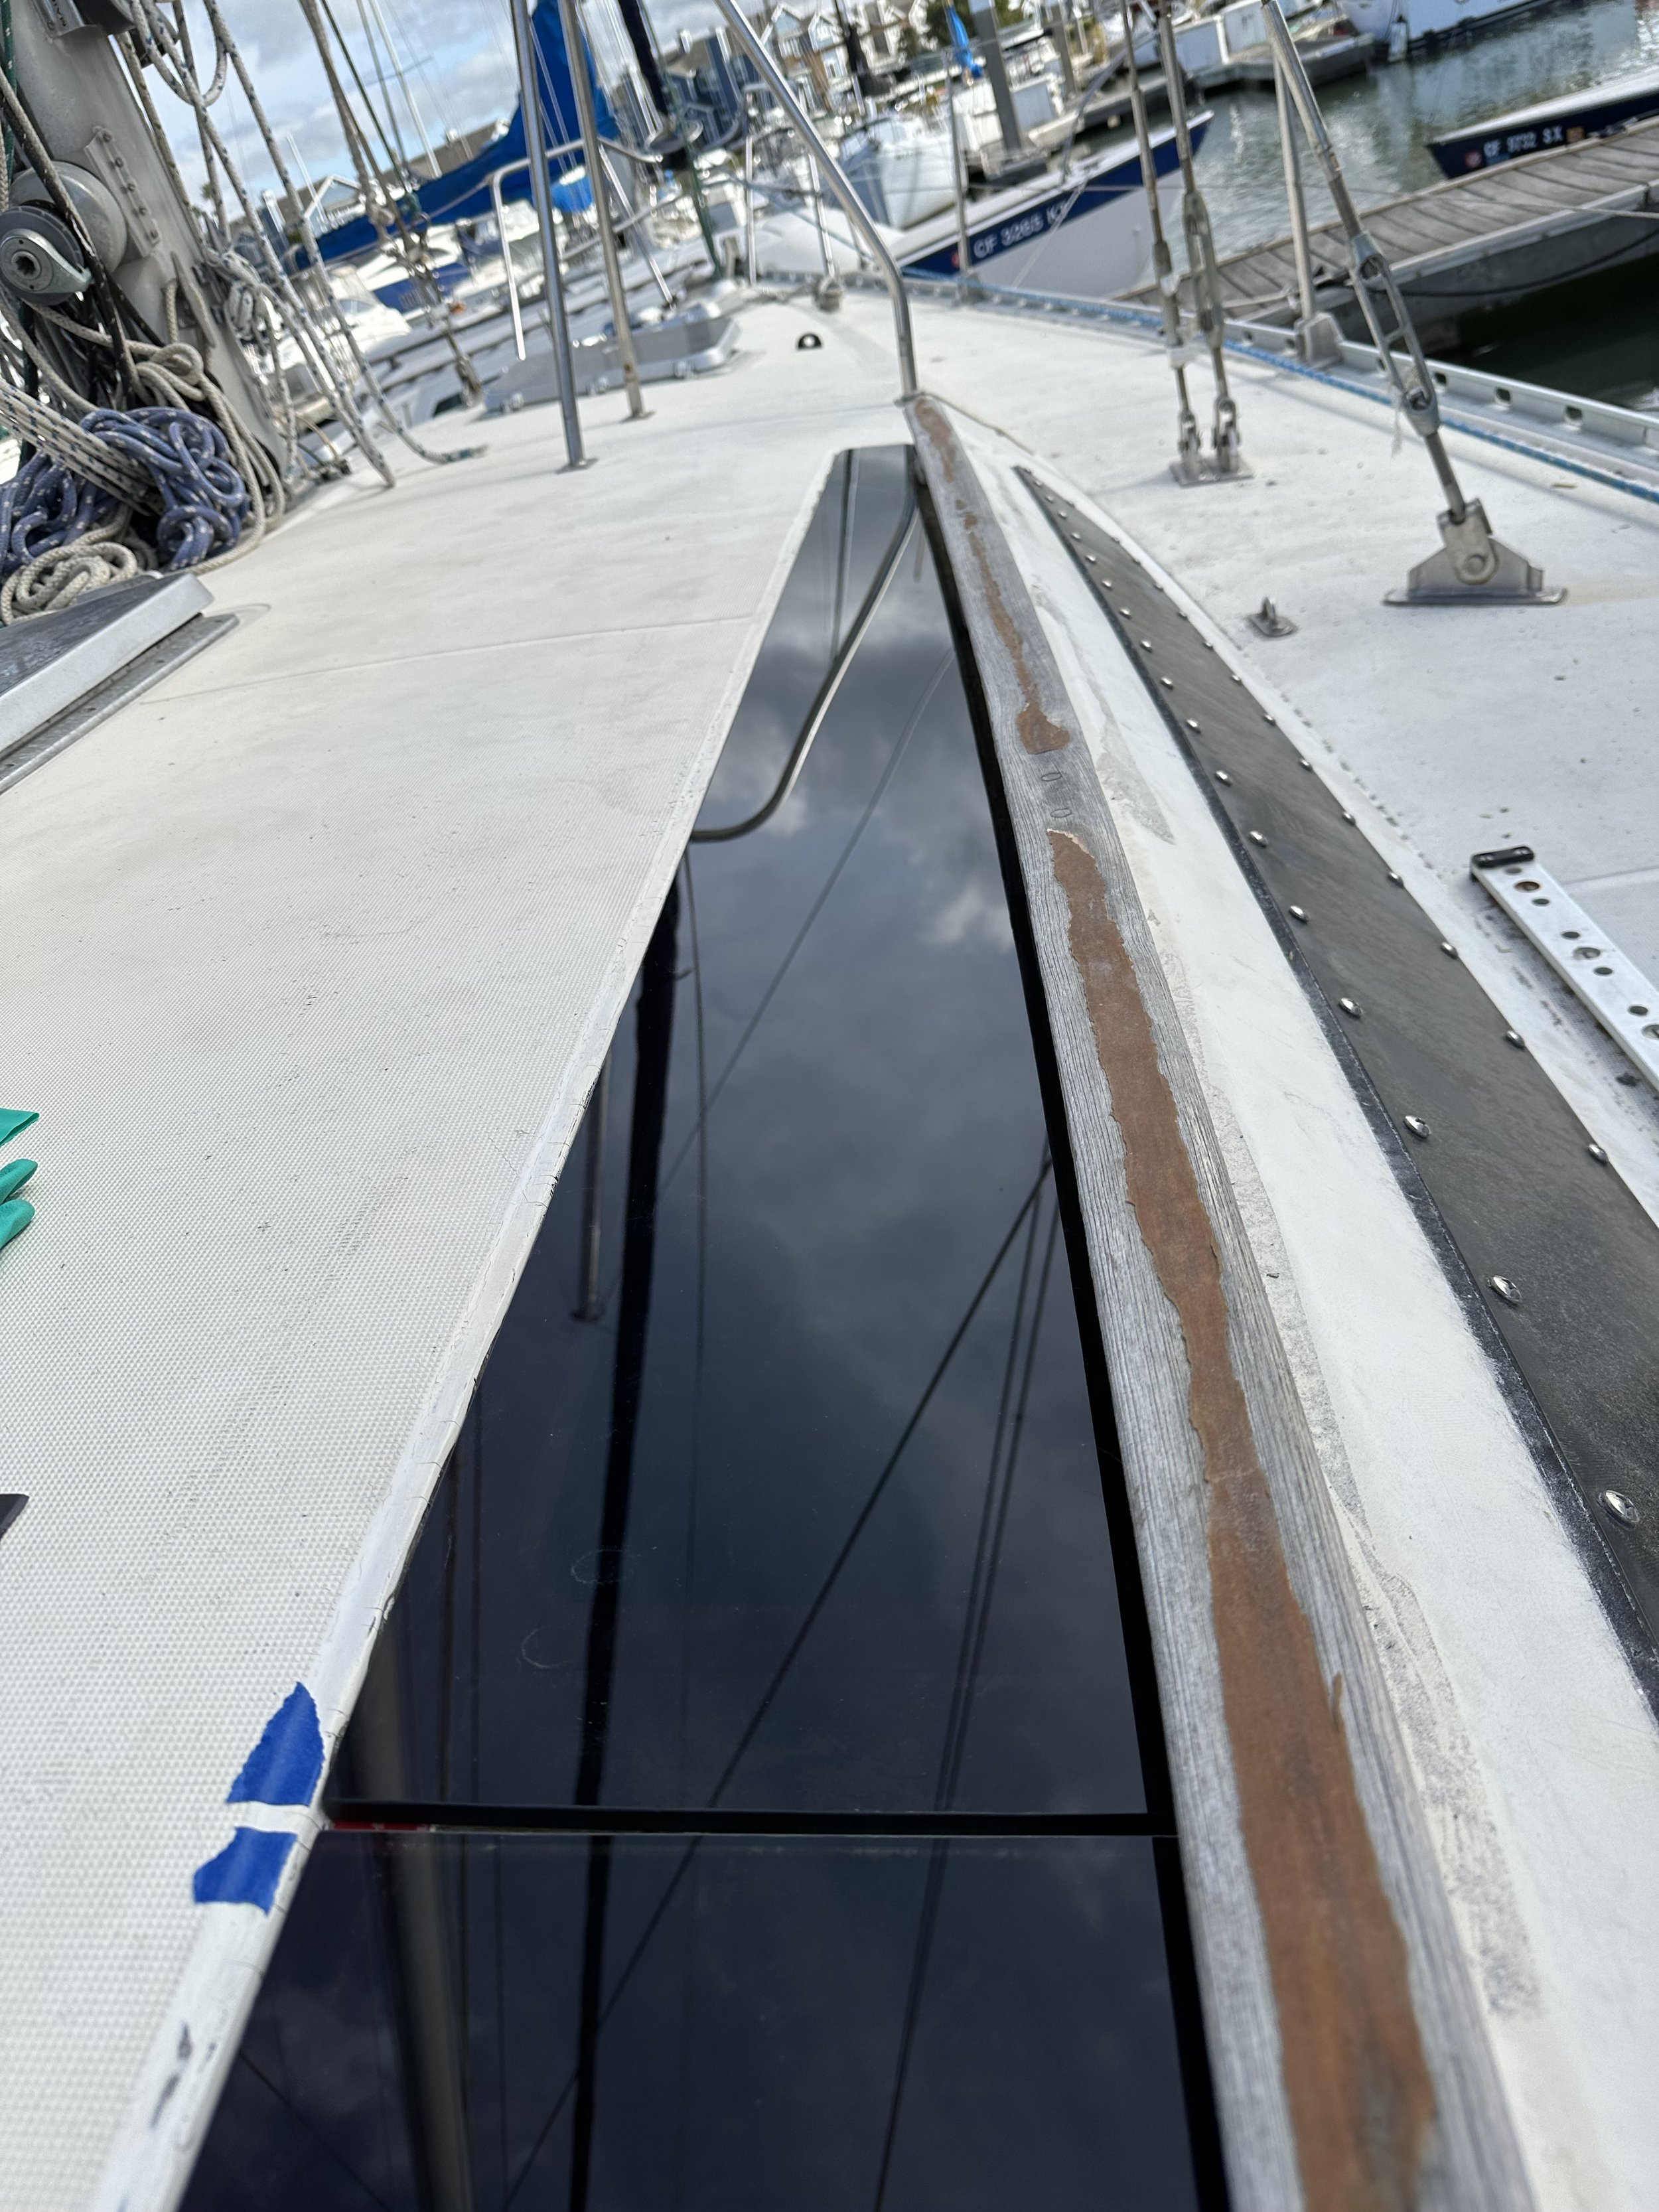
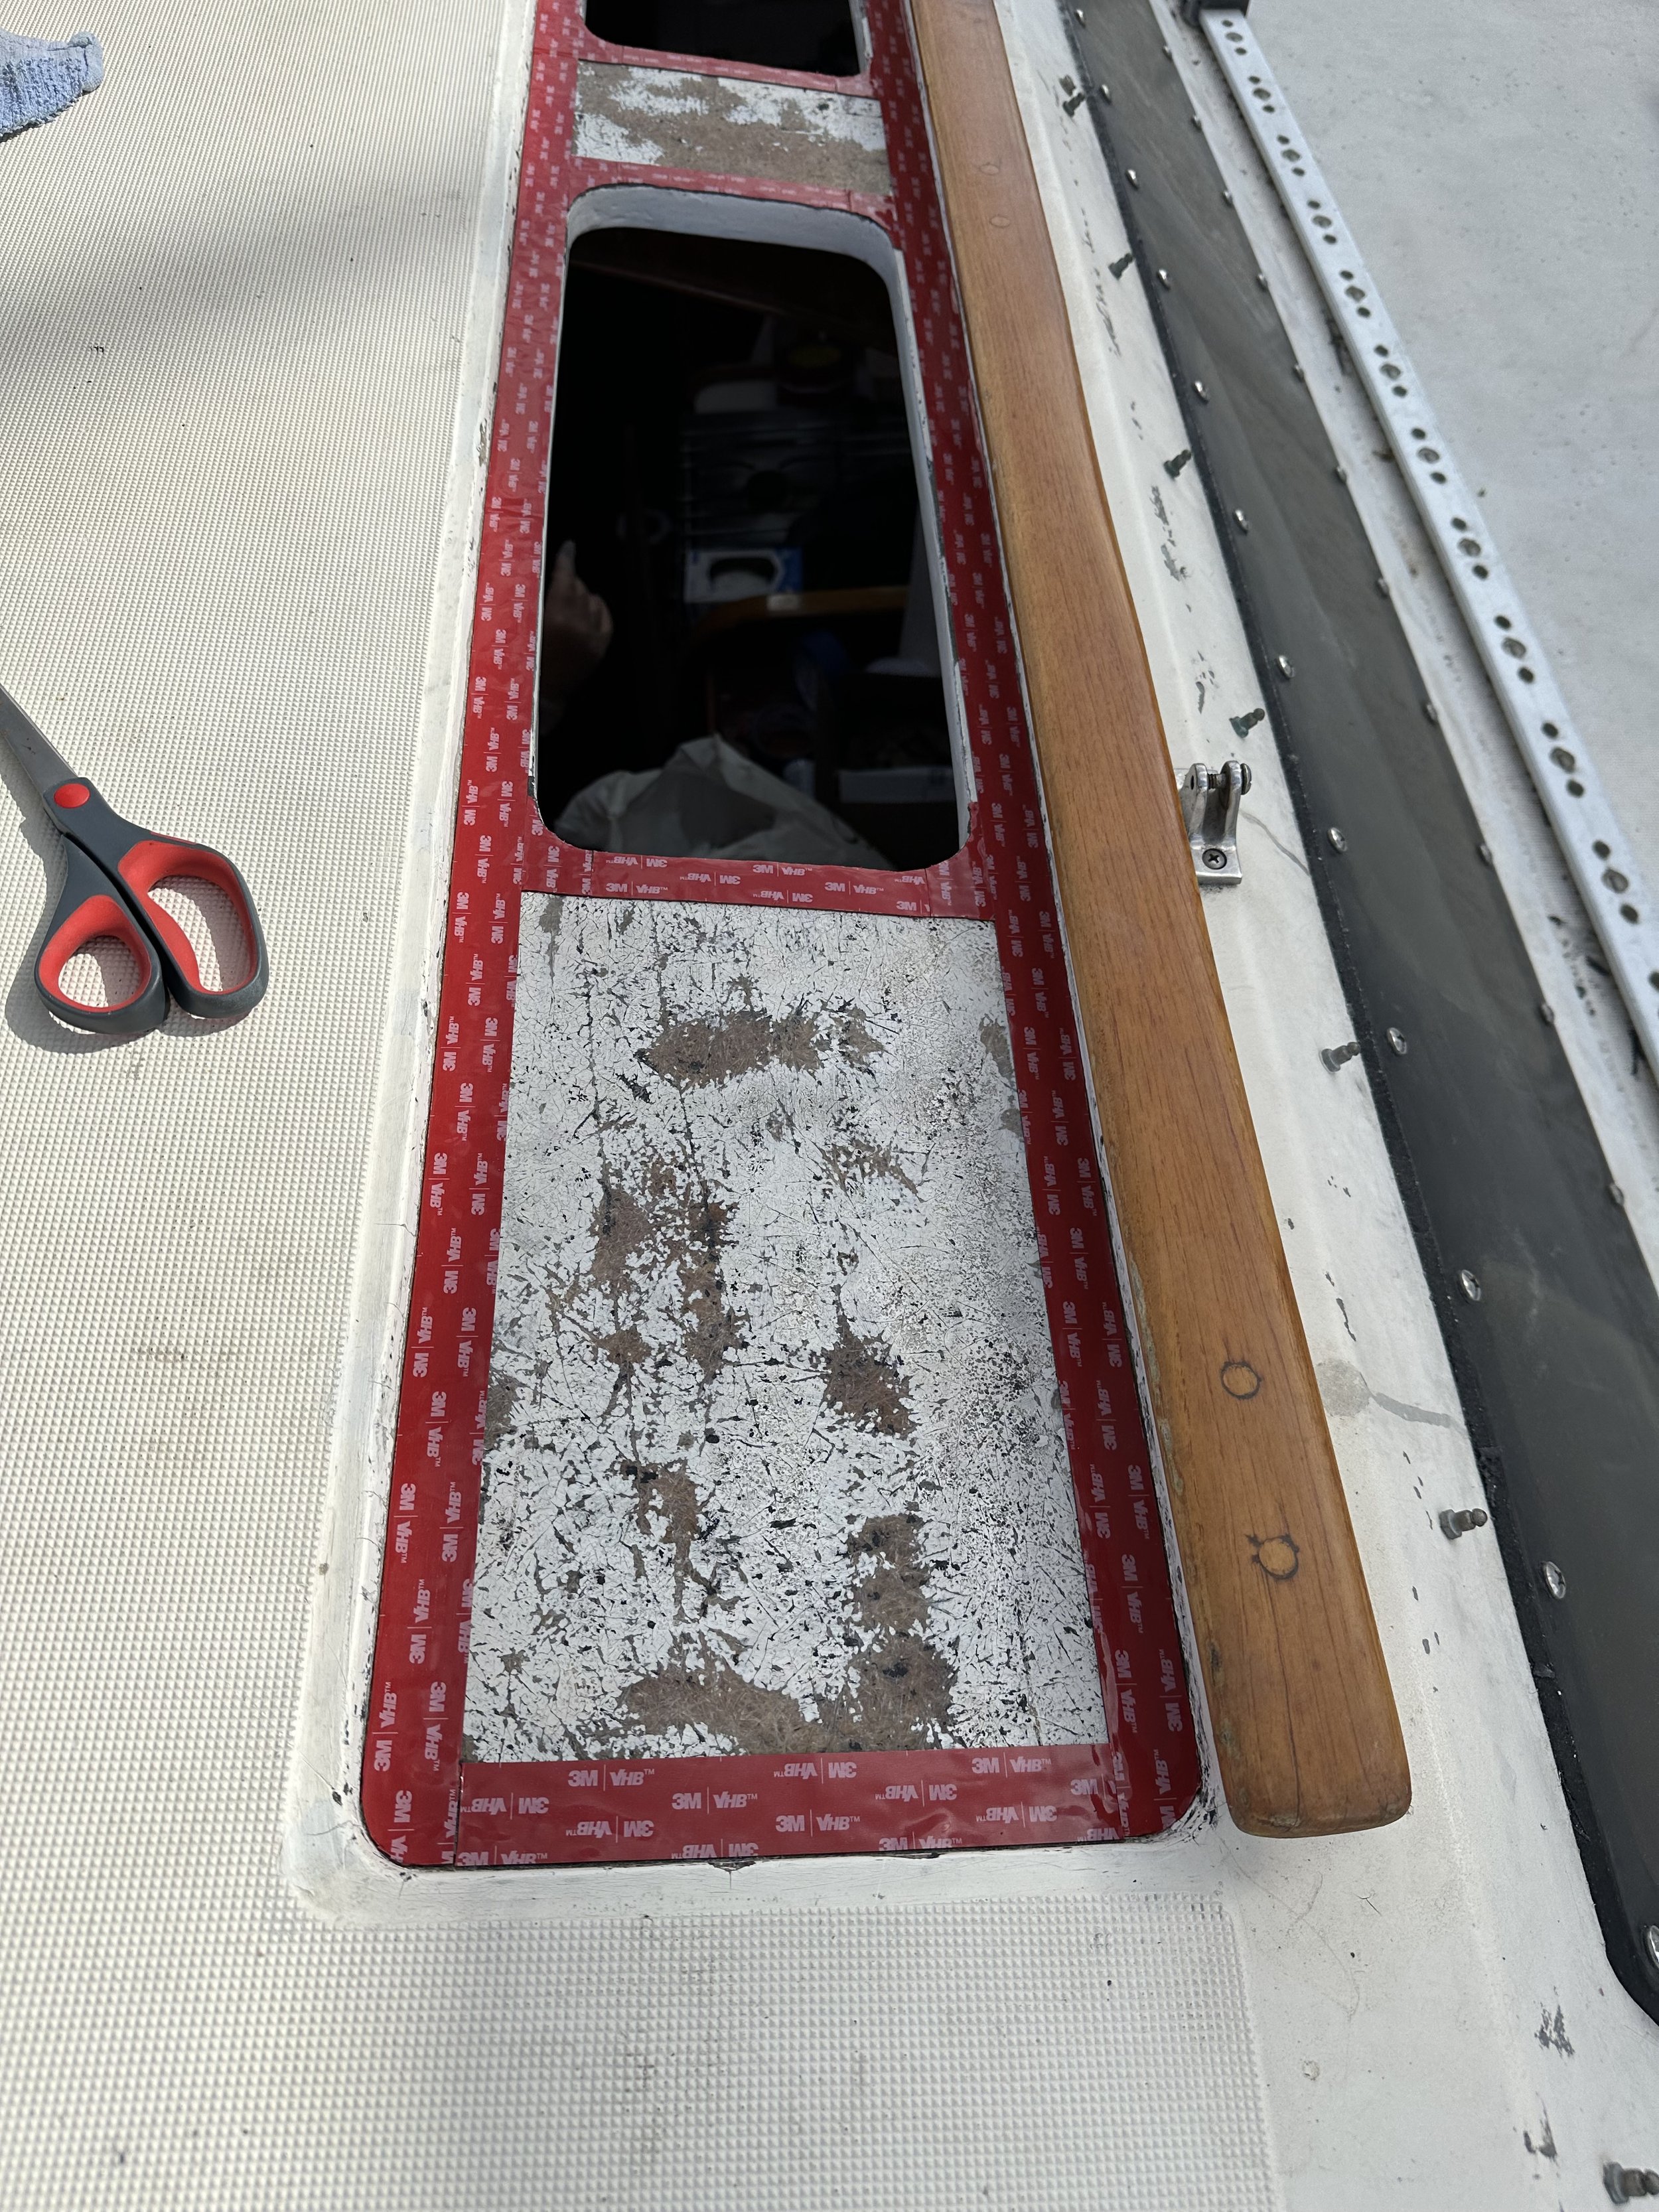
Replacing the windows was always on the priority list, not only because water was leaking through most of the 50 bolts that held them in place, but also because of cracking through each of the windows due to element exposure. But this time we were going to take a different approach. Instead of using the same bolt on technique that had been installed by the manufacture (which was honestly very ugly), we decided to give it a cleaner look and install the windows without the bolts. To do this we choose to use a 3M double-stick tape commonly used to attach skyscraper windows. In addition to the tape, we used a 3M marine adhesive around the edges as a second level sealant.
After taking out the 50 bolts for each window, we knew the hardest part of this project was going to be separating the windows from the old sealant and then cleaning off that sealant from the window frames. It didn’t disappoint. Even though the windows were made of 3/4” polycarbonate plexiglass, we had to take special care not to crack or break them, since we would need to use them as the template to order new ones. After several hours of carving out old sealant and using prying tools to separate it from the inside, we were finally successful at removing both sections of each window. Unfortunately, the port side window didn’t survive the process. It had already been weakened by the many spider cracks running through it.
Since we only had one good template to use, the hope was that both sides were identical.
Now that the windows had been cleaned and prepped, it was time to lay down the tape around the edges of the frame and add sealant to the center sections. It was now time to drop the window into the frame. Knowing that we would only get one shot at this, due to the tackiness of the tape, we debated for at least an hour about the best process. In the end we choose to use drill bit at one end as our gap filler that the first section would rest against as we lowered it down. Success! The first section went in perfectly, which made it easy to get the next one in.
After both sections were in and we had taped the inside and outside of the window sections, we then caulked the outside edges with the 3M sealant. For a first attempted at replacing a complicated boat window, I must say, we were very pleased with the results. The new windows immediately improved the appearance of the boat.
While the plastics shop made the two sets of windows from the template, I spent the next week scrapping old sealant goop from both window frames. At this point in boat ownership, you either embrace the process, or you list it as-is. By the end of the week I flirted with the idea of as-is. To say this part of the project was tedious and frustrating is a gross understatement. There was no easy way to remove a substance that designed not to be removed. Solvents didn’t work, neither did sanding. I was left with using a thin chisel to carefully scrap off the goop without damaging the gel coat below. I wish I could say in the end it was flawless, but we both know better. If nothing else it was a lesson in patience. For better or for worse, we both survived the process, just in time for the new windows to be delivered.


